In the continually evolving digital landscape, user experience is a fundamental priority. One such technology that has gained popularity is voice search, which allows users to interact with digital information hands free and effortlessly. In this post, we will look at how to seamlessly incorporate the Voice Search tool into your WordPress website, enhancing user engagement and accessibility.
The Rise of Voice Search
With the wide availability of speech-activated gadgets and virtual assistants like Siri, Google Assistant, and Alexa, consumers are increasingly depending on voice search to complete tasks, obtain information, and navigate the world of digital media. As a website owner, embracing this trend not only protects your site’s long term health, but also creates a more inclusive and user-friendly experience for your visitors.
1. Understanding the Basics
Before we get into implementation, let’s understand the essential concepts behind Voice Search integration:
Speech Recognition Technology:
- Voice Search uses speech recognition technology to convert spoken words into text.
- Platforms such as Google’s Web Speech API and browser compatibility for the SpeechRecognition interface enable this.
Integration with WordPress:
- WordPress, as a versatile platform, can easily integrate voice search features.
- Custom functions and plugins help to streamline the implementation process.
2. Enabling Browser Support
Before adding Voice Search on your WordPress site, make sure your browser supports the Web Speech API. As of present, popular browsers such as Chrome, Firefox, and Edge have adequate support.
3. Implementing Voice Search in WordPress
Here’s a step-by-step lesson for adding Voice Search capabilities to your WordPress site:
Enqueueing the Required JavaScript:
In your theme’s functions.php file, enqueue the necessary JavaScript files.
function enqueue_voice_search_scripts() {
    wp_enqueue_script('voice-search', get_template_directory_uri() . '/js/voice-search.js', array('jquery'), '1.0', true);
}

add_action('wp_enqueue_scripts', 'enqueue_voice_search_scripts');
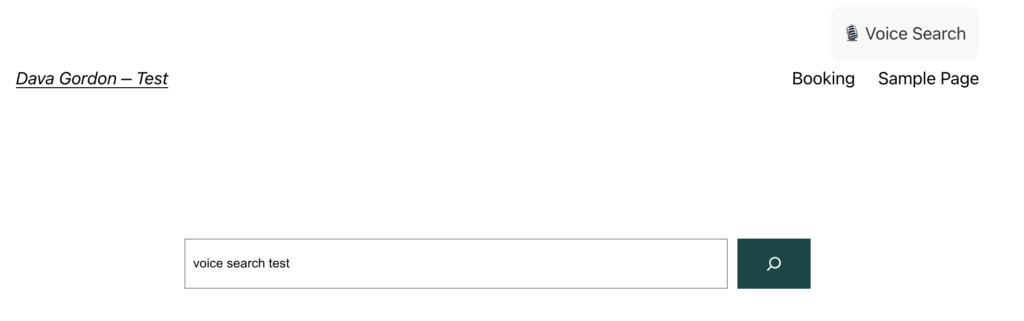
Creating the Voice Search UI:
Next, create a simple UI element for users to trigger voice search.
function voice_search_ui() {
    ?>
    <div id="voice-search-container">
        <div id="voice-search-btn">????️ Voice Search</div>
    </div>
    <?php
}

add_action('wp_header', 'voice_search_ui');
In rare circumstances, the above function may not work because your theme is bespoke; in that case, add the following code to your theme’s header or footer.
<div id="voice-search-container">
    <div id="voice-search-btn">????️ Voice Search</div>
</div>
We now have our element in place. It’s time to make it gorgeous!
#voice-search-container {
	position: absolute;
	top: 10px; /* Adjust the top position as needed */
	right: 10px; /* Adjust the right position as needed */
	z-index: 9999; /* Ensure it appears on top of other elements */
	cursor: pointer;
	font-size: 18px;
	color: #333; /* Adjust the color as needed */
}

#voice-search-btn {
	padding: 10px;
	background-color: #f8f8f8; /* Adjust the background color as needed */
	border-radius: 5px;
	box-shadow: 0 0 5px rgba(0, 0, 0, 0.1); /* Add a subtle shadow */
}
Implementing the Search Logic:
Now, let’s implement the logic to capture user input through voice.
document.addEventListener('DOMContentLoaded', function () {
    const voiceSearchBtn = document.getElementById('voice-search-btn');
    const recognition = new webkitSpeechRecognition(); // For Chrome
    // const recognition = new SpeechRecognition(); // For Firefox

    voiceSearchBtn.addEventListener('click', function () {
        recognition.start();
    });

    recognition.onresult = function (event) {
        const result = event.results[0][0].transcript;
        // Perform actions with the voice input
        executeVoiceSearch(result);
    };

    function executeVoiceSearch(query) {
        // You can customize this part based on your WordPress setup
        const searchUrl = 'https://yourwordpresssite.com/?s=' + encodeURIComponent(query);

        // Redirect the user to the search results page
        window.location.href = searchUrl;
    }
});
This JavaScript code initializes the Web Speech API and captures user voice input when the designated button is clicked.
4. Enhancing User Experience
To maximise the impact of Voice Search on your WordPress site, consider the following tips:
Optimize Content for Voice Queries:
- Create natural sounding content which represents how people speak in a common dialect.
- Concentrate on long tail keywords and question based queries.
Responsive Design:
- Make sure your website has a responsive design that adapts effortlessly to different devices.
- Voice Search is commonly used on mobile devices and smart speakers.
Provide Clear Prompts:
- Clearly show the availability of the search.
- Use intuitive icons or textual clues to guide users.
Voice Search is more than a trend, it represents an essential change in how people interact with the digital world. By implementing Voice Search into your WordPress site, you not only meet your audience’s evolving requirements, but you also stay ahead of the curve in terms of providing a cutting-edge user experience.
Adopt the voice revolution, improve accessibility, and pave the way for a future in which consumers may interact with your information just by speaking. The era of voice-activated browsing is arrived, and it’s time to join the musical revolution!